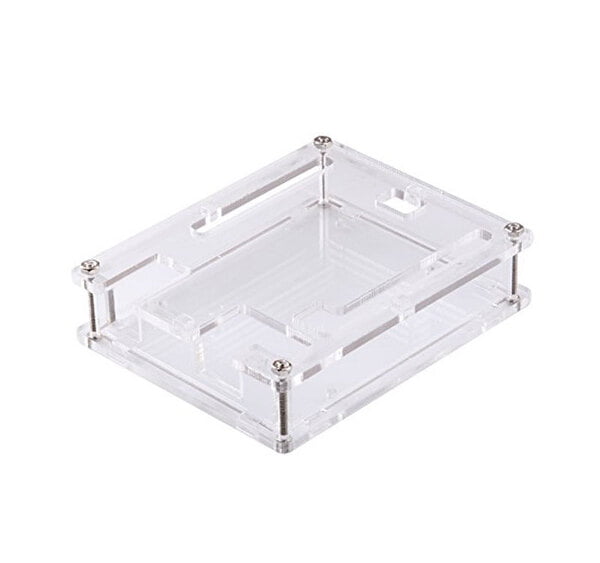
Crystal Case for Arduino UNO
- ONLY CASING. Kindly Note that Arduino board is not included.
- The Arduino Uno is the undisputed champion of all development boards, why would you not want to keep your board safe and sound inside this clear plastic enclosure? These cases protect your Arduino Uno from things like rogue wires that might short it out while still allowing full access to the board! Simply snap the Uno into the bottom half of the enclosure, then snap the two sides together.
- As you may have noticed, these enclosures are actuallytransparent. The enclosures are perfect for letting you see your Arduino Uno and make any needed adjustments easily.
- The enclosure provides slots to access each header, USB port, power jack, the reset button, the AREF and ICSP connectors, as well as feet and vents to ensure the board gets proper cooling and slide-in wall mounting slots. All of the status LEDs on the Uno are visible through the case thanks to light pipes embedded in the design.This is a really durable case that will do a great job protecting your Arduino Uno!
The acrylic case has a protective paper comes to it, to protectthe case from scratches. First, we must remove this so the transparent part ofthe case will show after this it’s ready to install to the Arduino Uno board.

Step 2: Place the Arduino board in the acrylic case
The acrylic case has cut out design that follows the Uno board design, so it was easy to intuitively place the case pieces to the boardand fits to the case perfectly.

Step 3: Secure the Arduino board and acrylic case using bolts and screws
The acrylic case comes with bolts and screw that will use aslocking mechanism. There are two (2) types of screws that the case had. Firstthere was a four (4) short length size that will place to the board and to thebody of the case. Second was a four (4) long length size that will place to theedges of the case.

Step 4: Build the whole thing
The screw driver will use to fasten the screw and bolts.